Quickstart
Overview
Once you have a clear idea of your AI use-case, you'll want to develop systems that 'adapt' to your specific needs. This can be achieved through finetuning your own AI models. At its core, all AI is about matrix multiplication, expressed by the simple equation Ax = y where A is your AI model weights, x your input and y output. In the case of prompting, we modify x, having no control over A. In finetuning, you modify and control A, allowing greater control and stability over your AI. Finetuning allows you to be more than just another prompt wrapper and have differentiated AI capabilities.
Fine-tuning your first AI model
1. Create Model Service
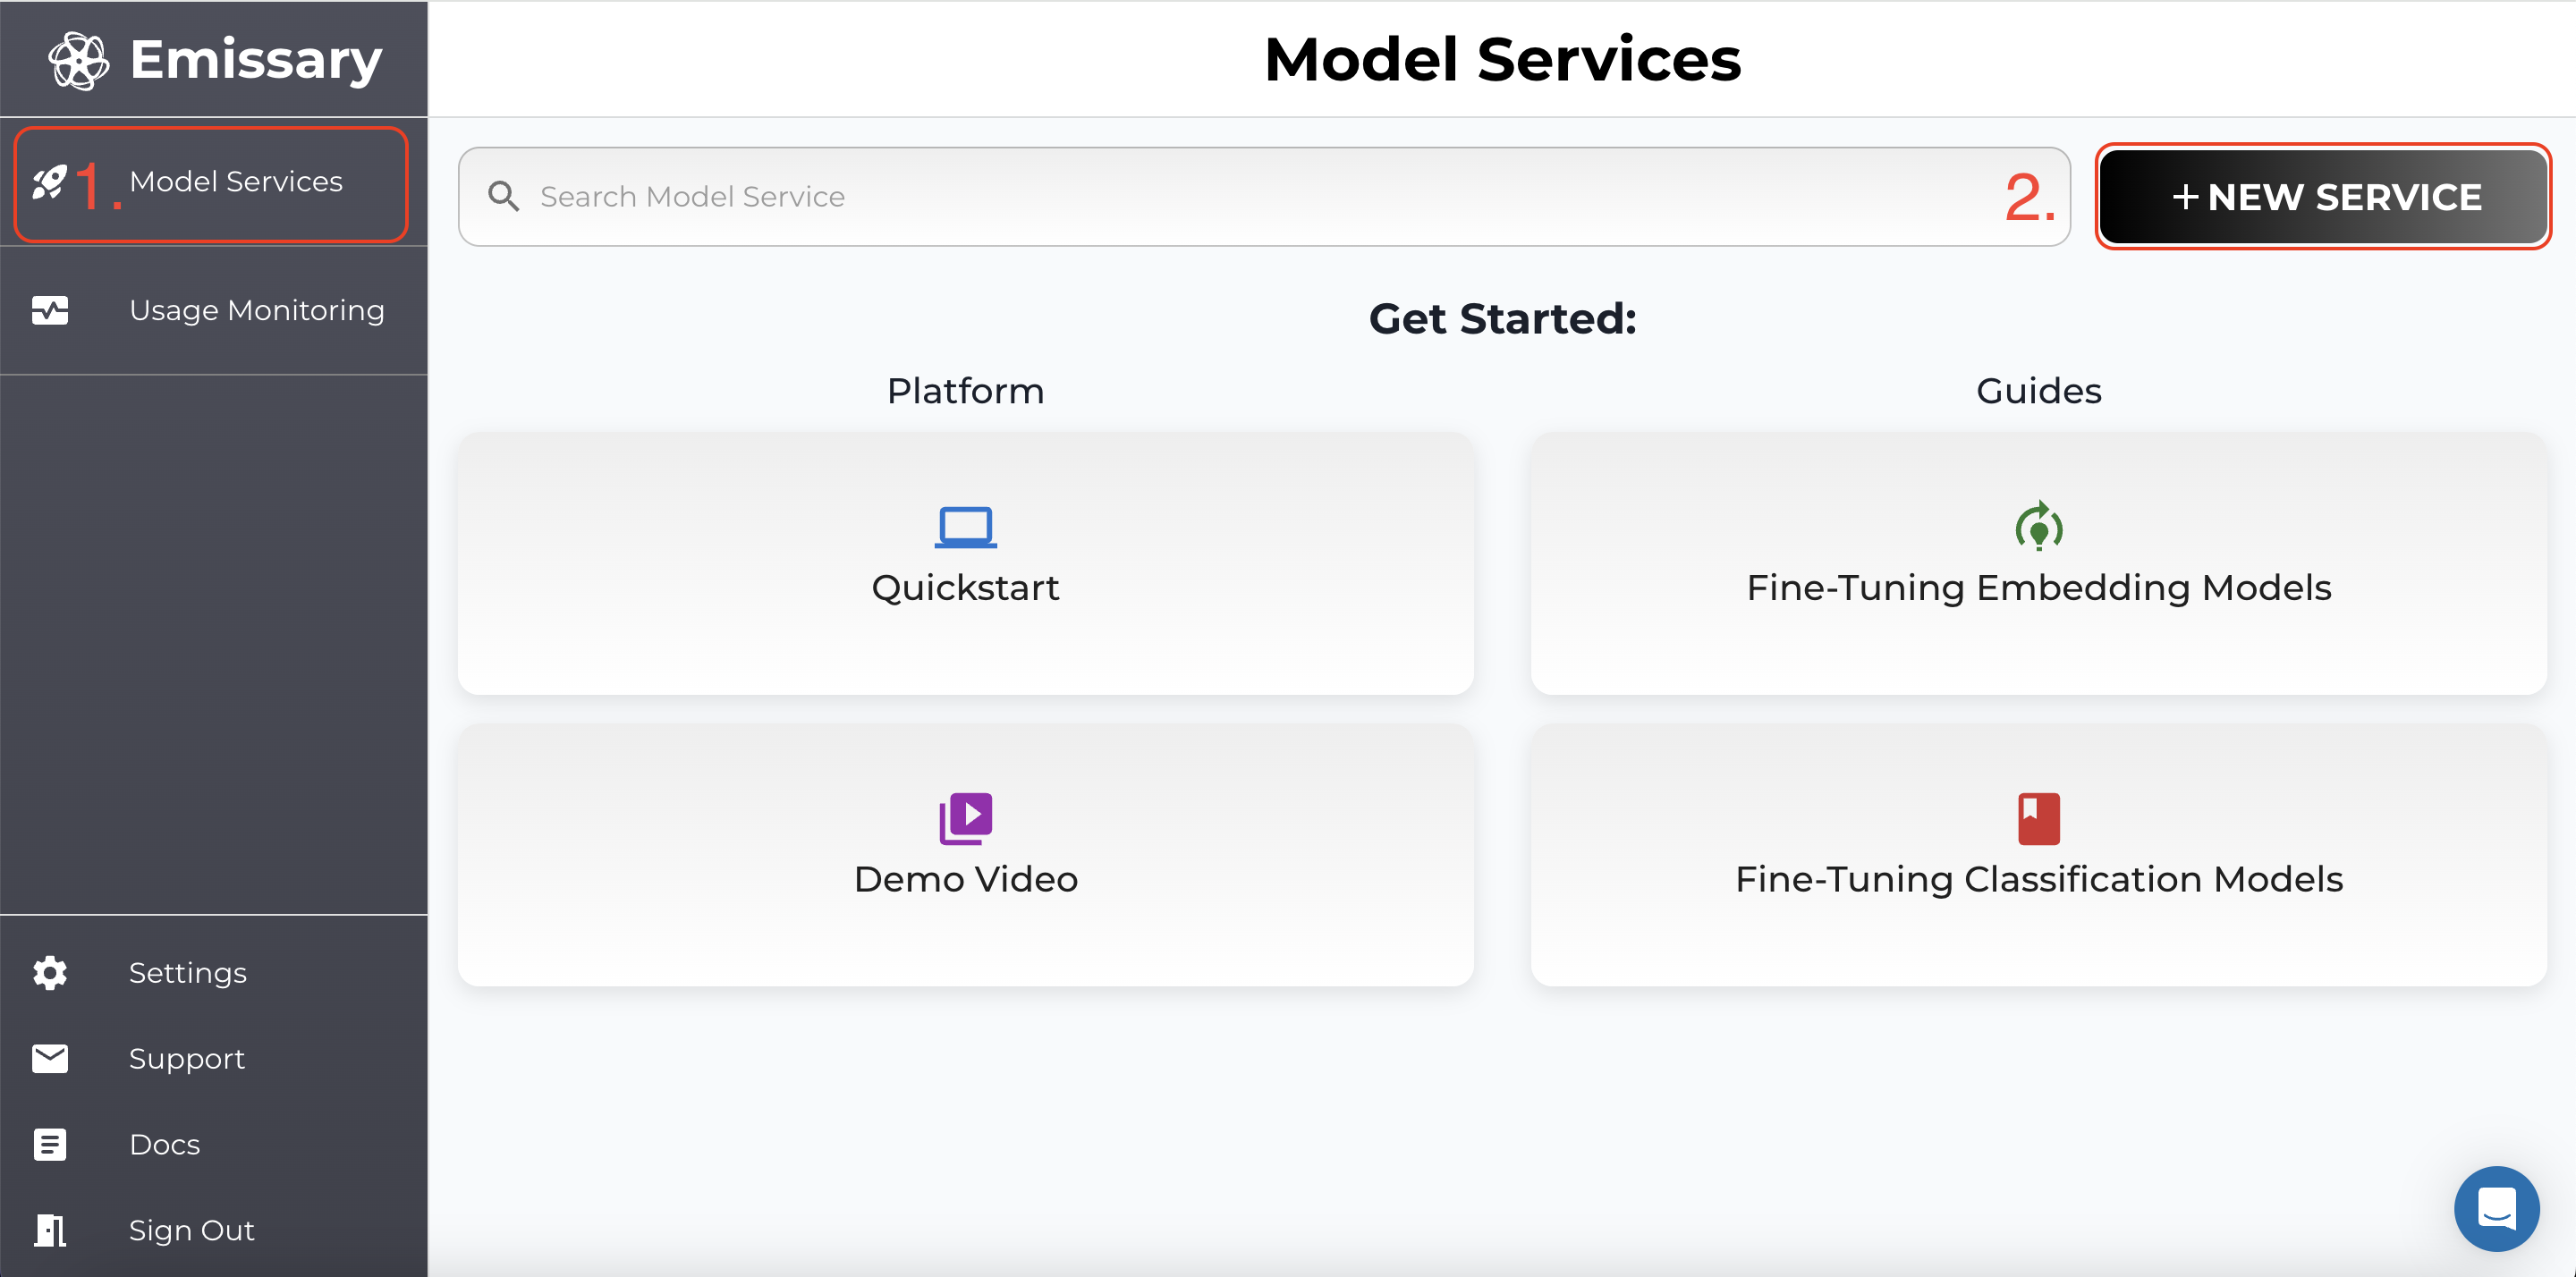
Click Model Services on the services panel and then + NEW SERVICE button in the dashboard.
2. Enter Model Service Name
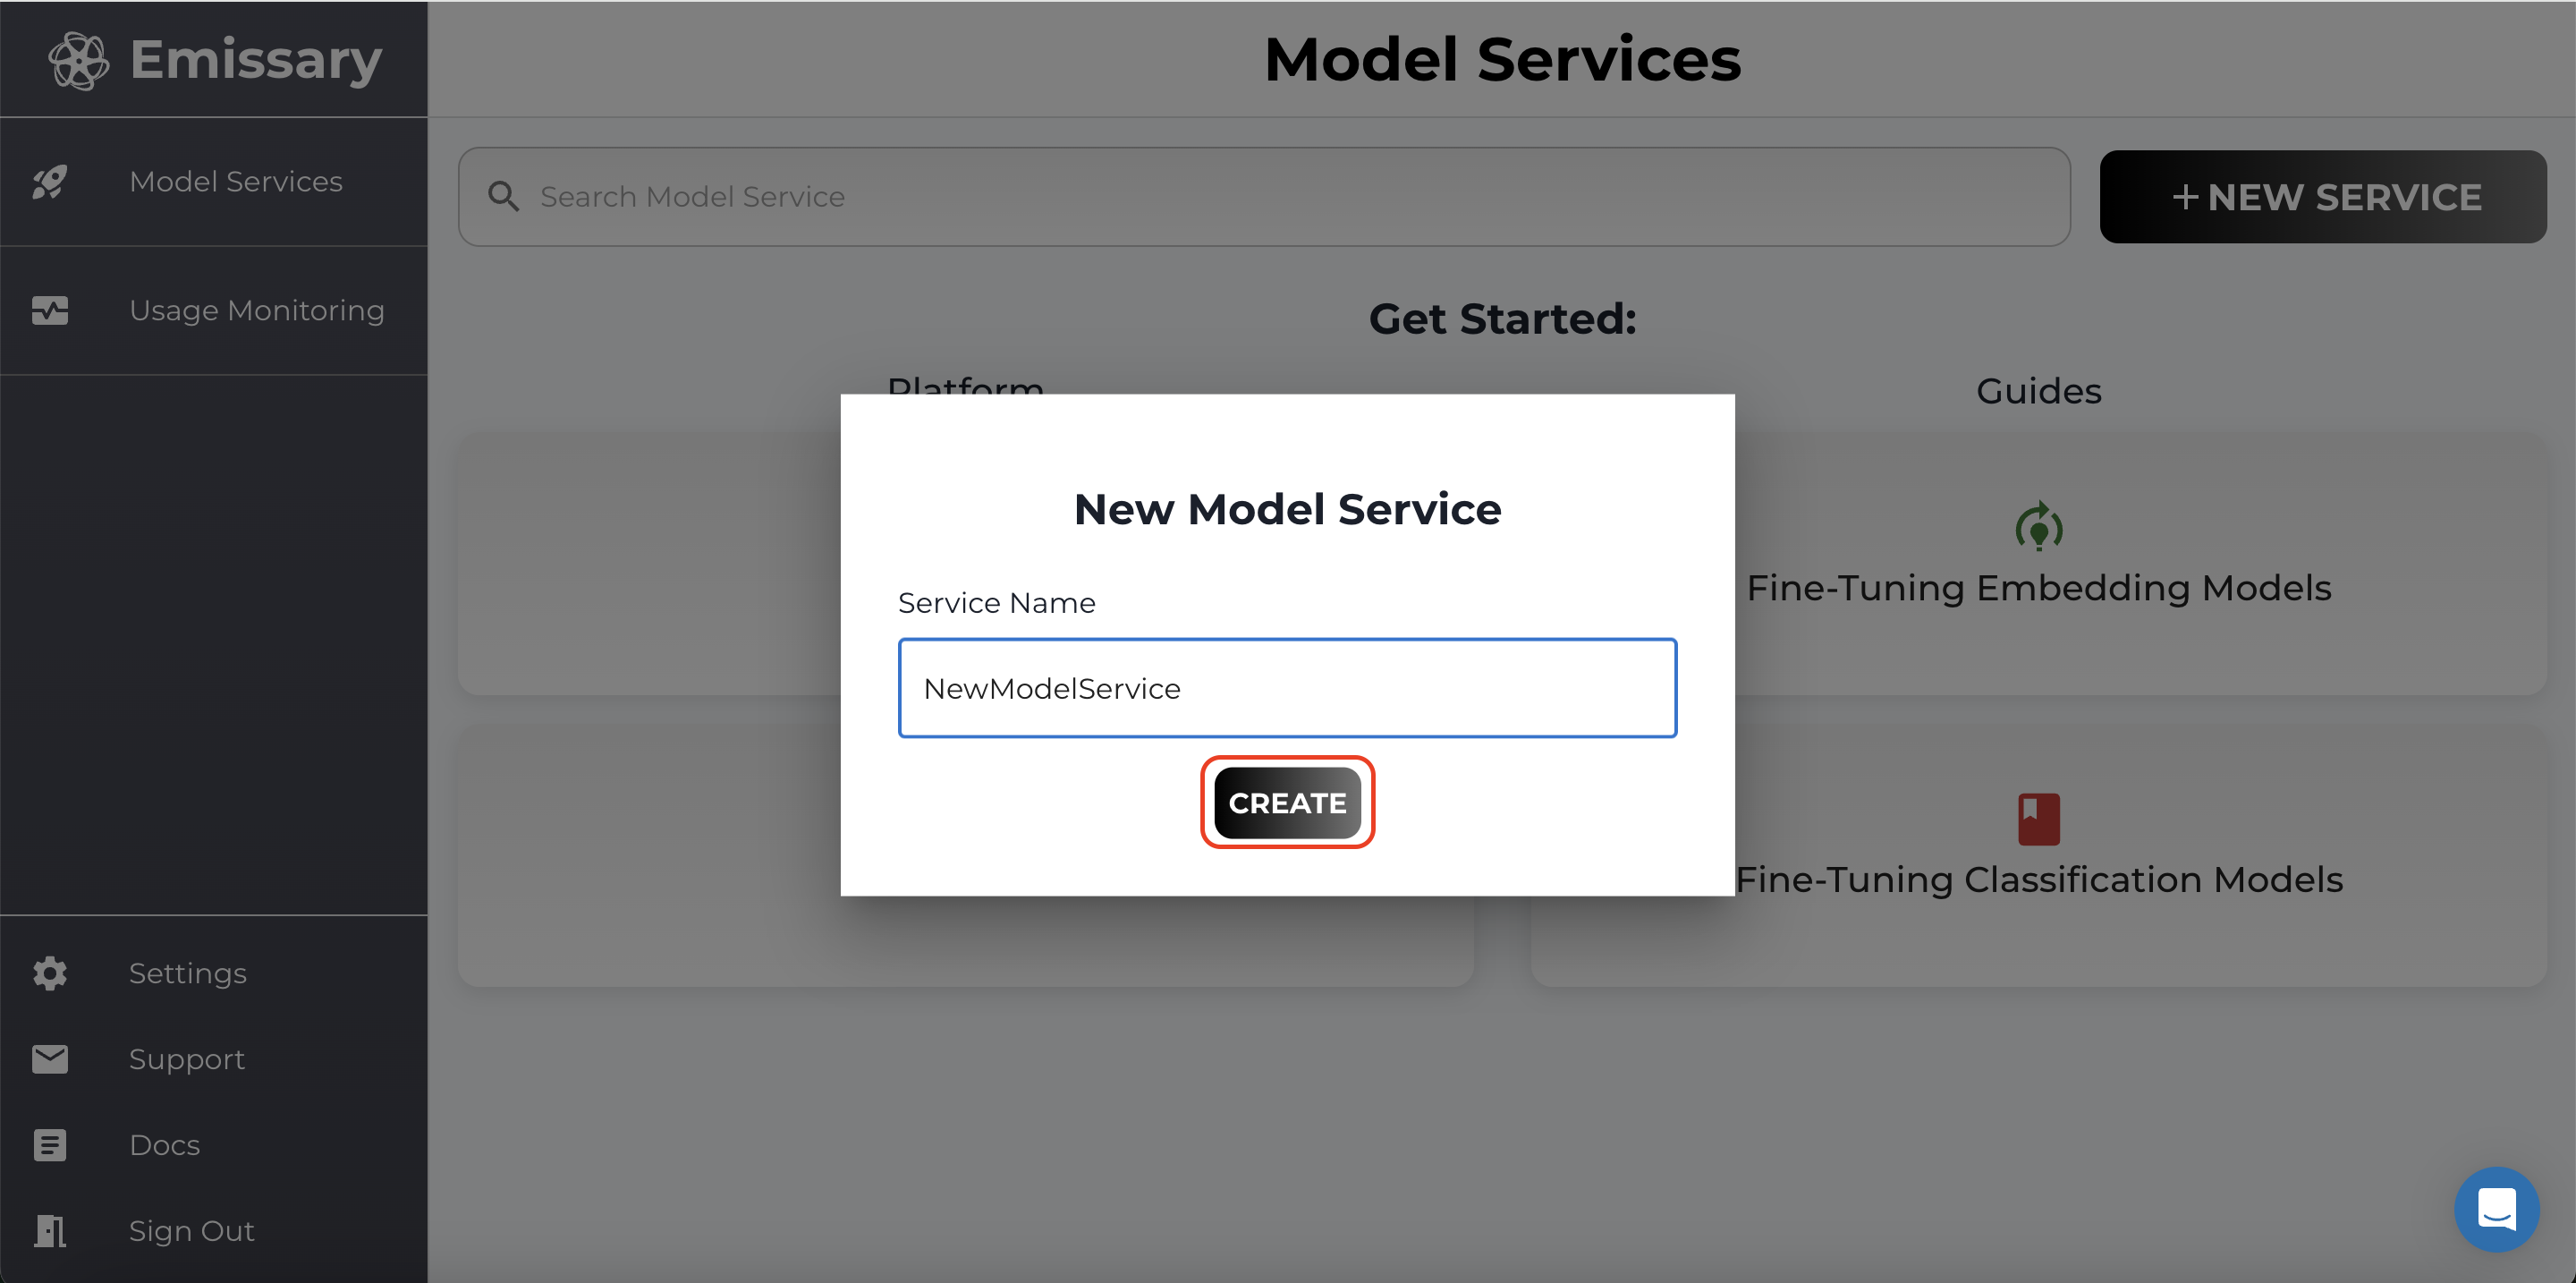
In the pop-up, enter a new model service name, and click CREATE.
3. Manage Model Service
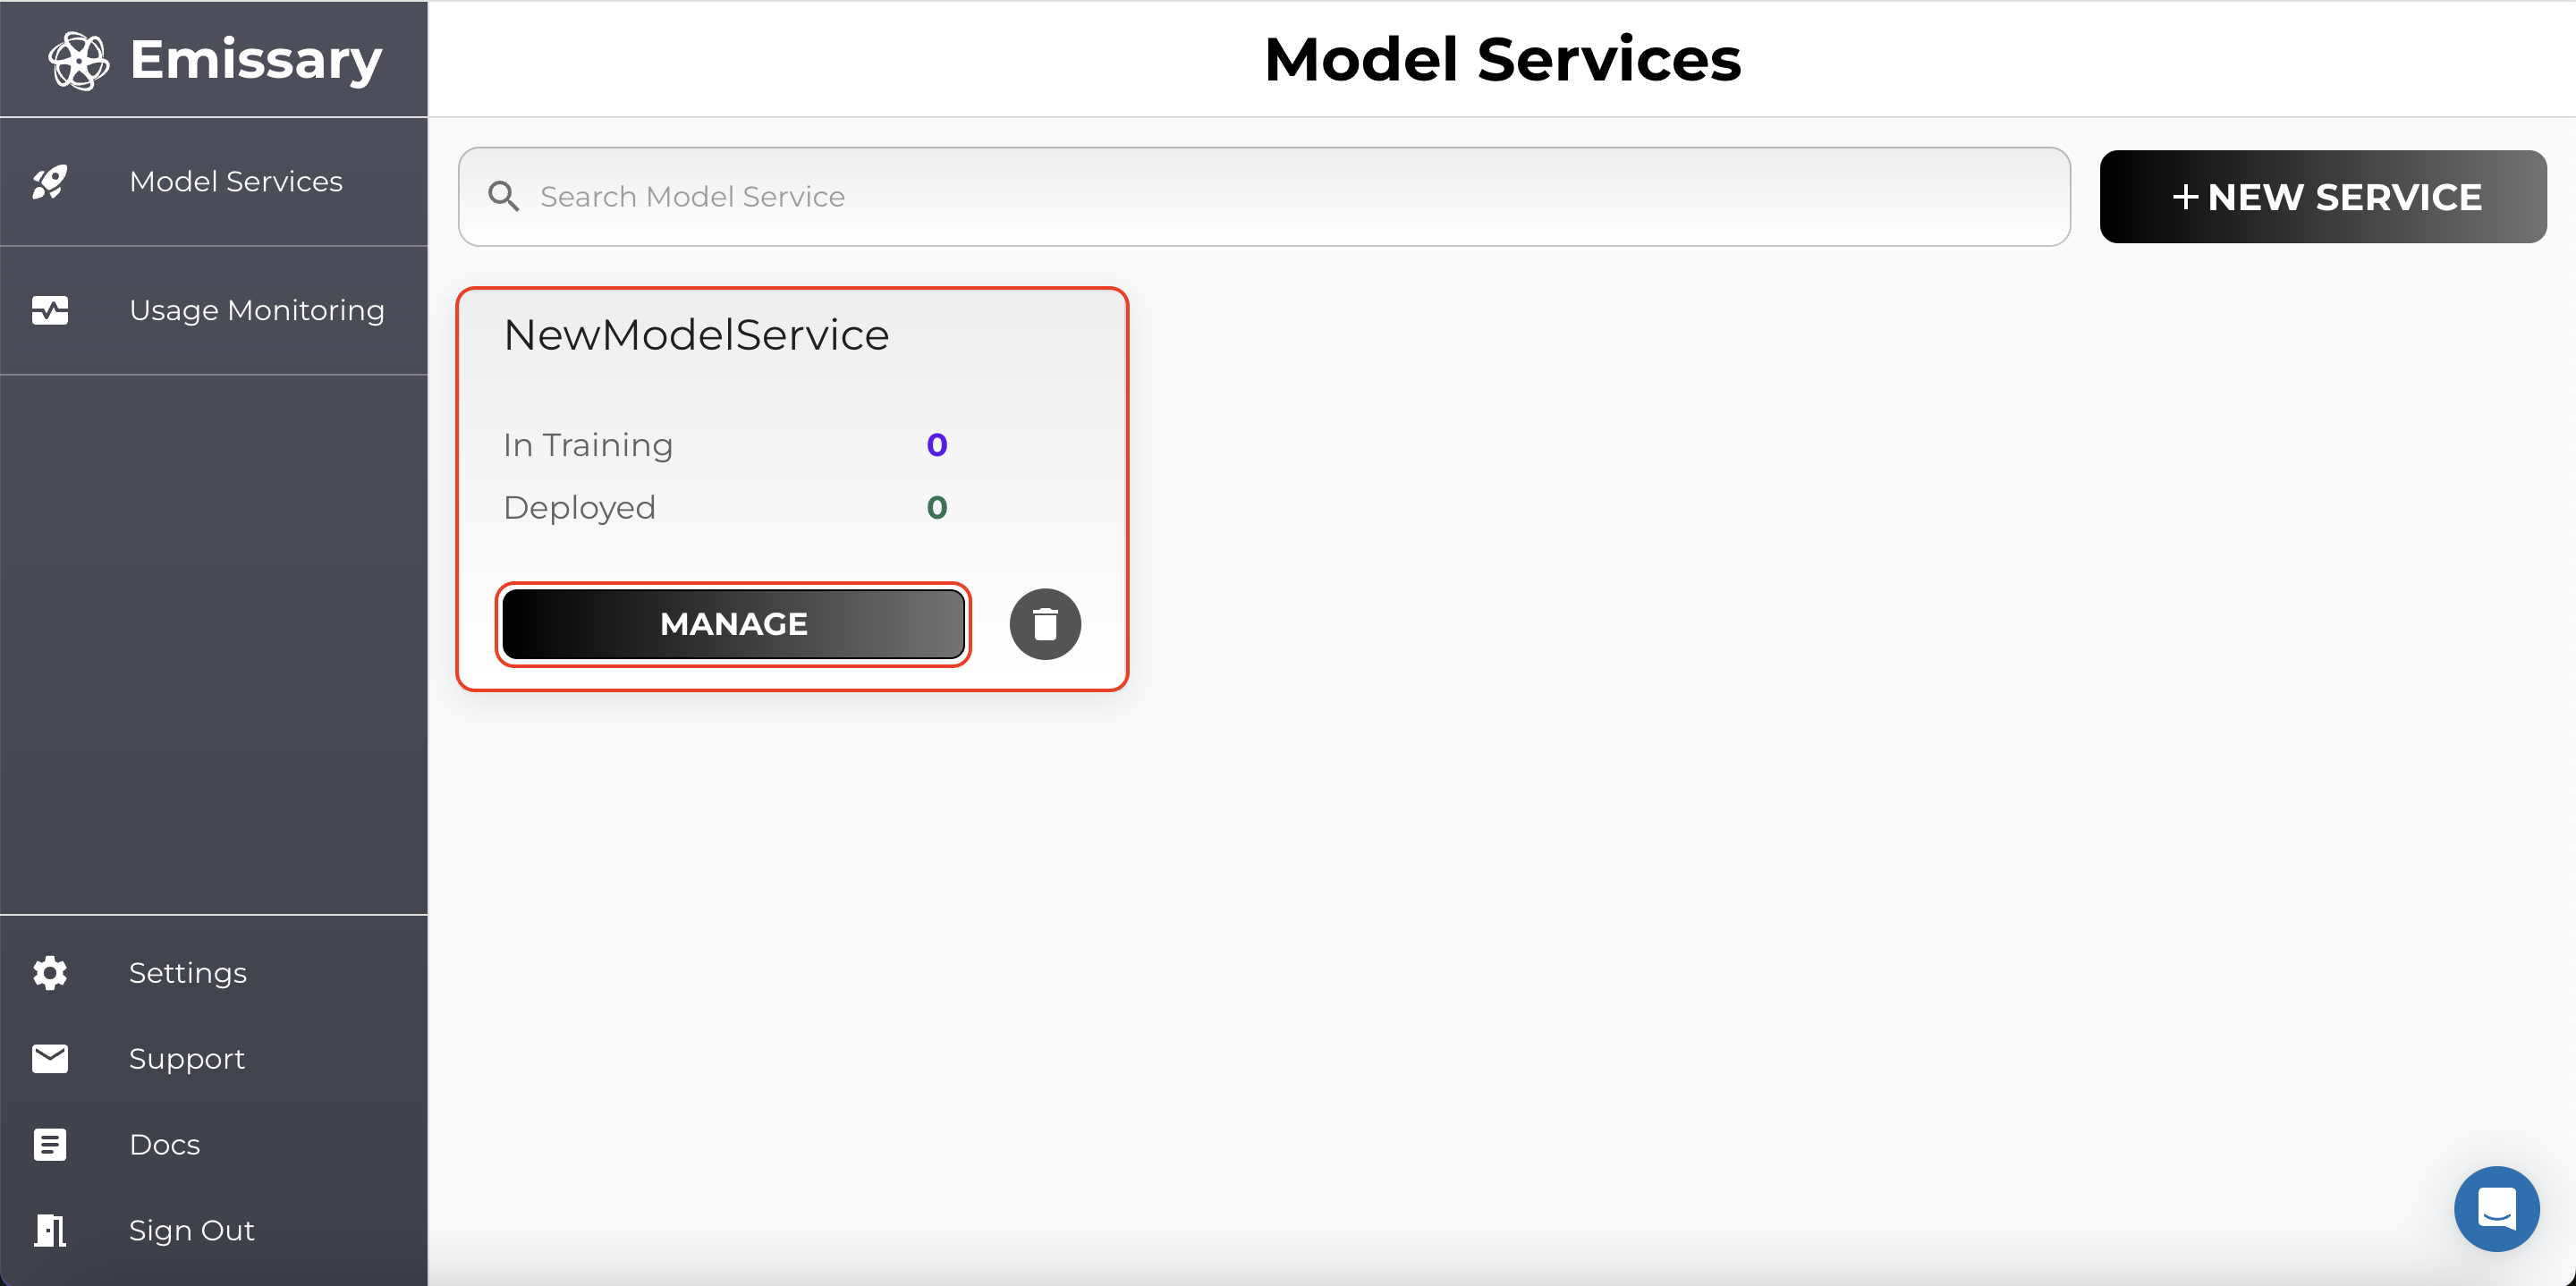
A tile is created for your task. Click Manage to enter the task workspace.
4. Manage Datasets
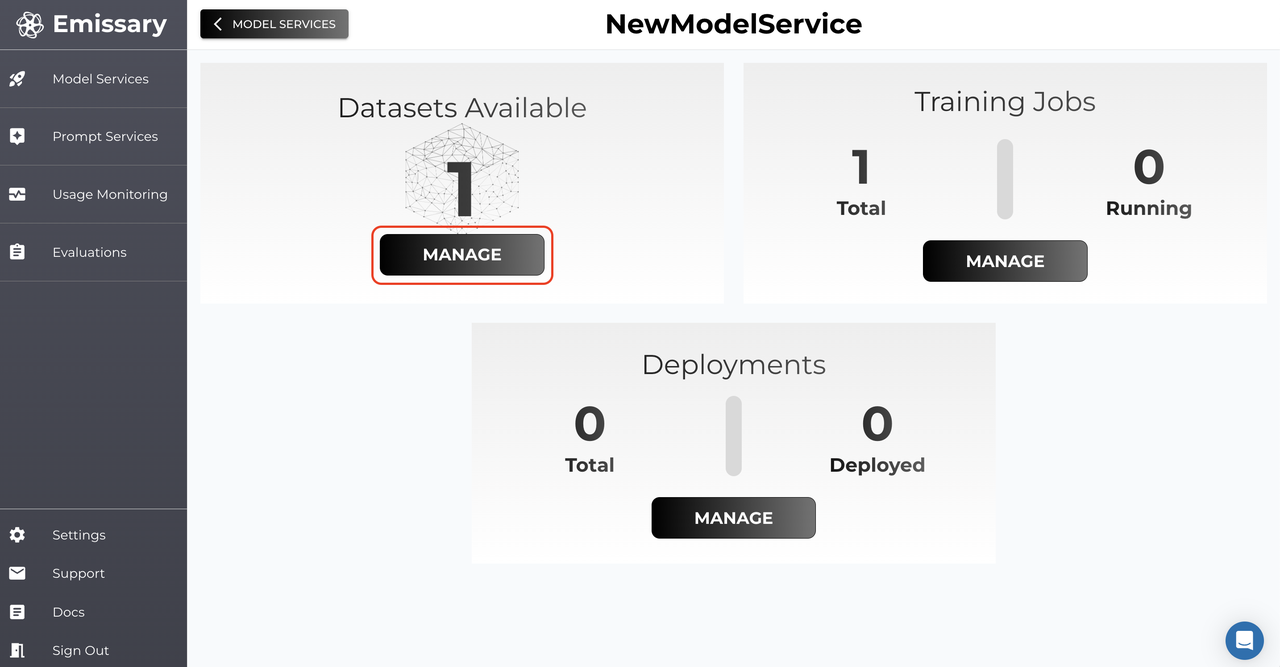
Click MANAGE in the Datasets Available tile.
5. Upload Datasets
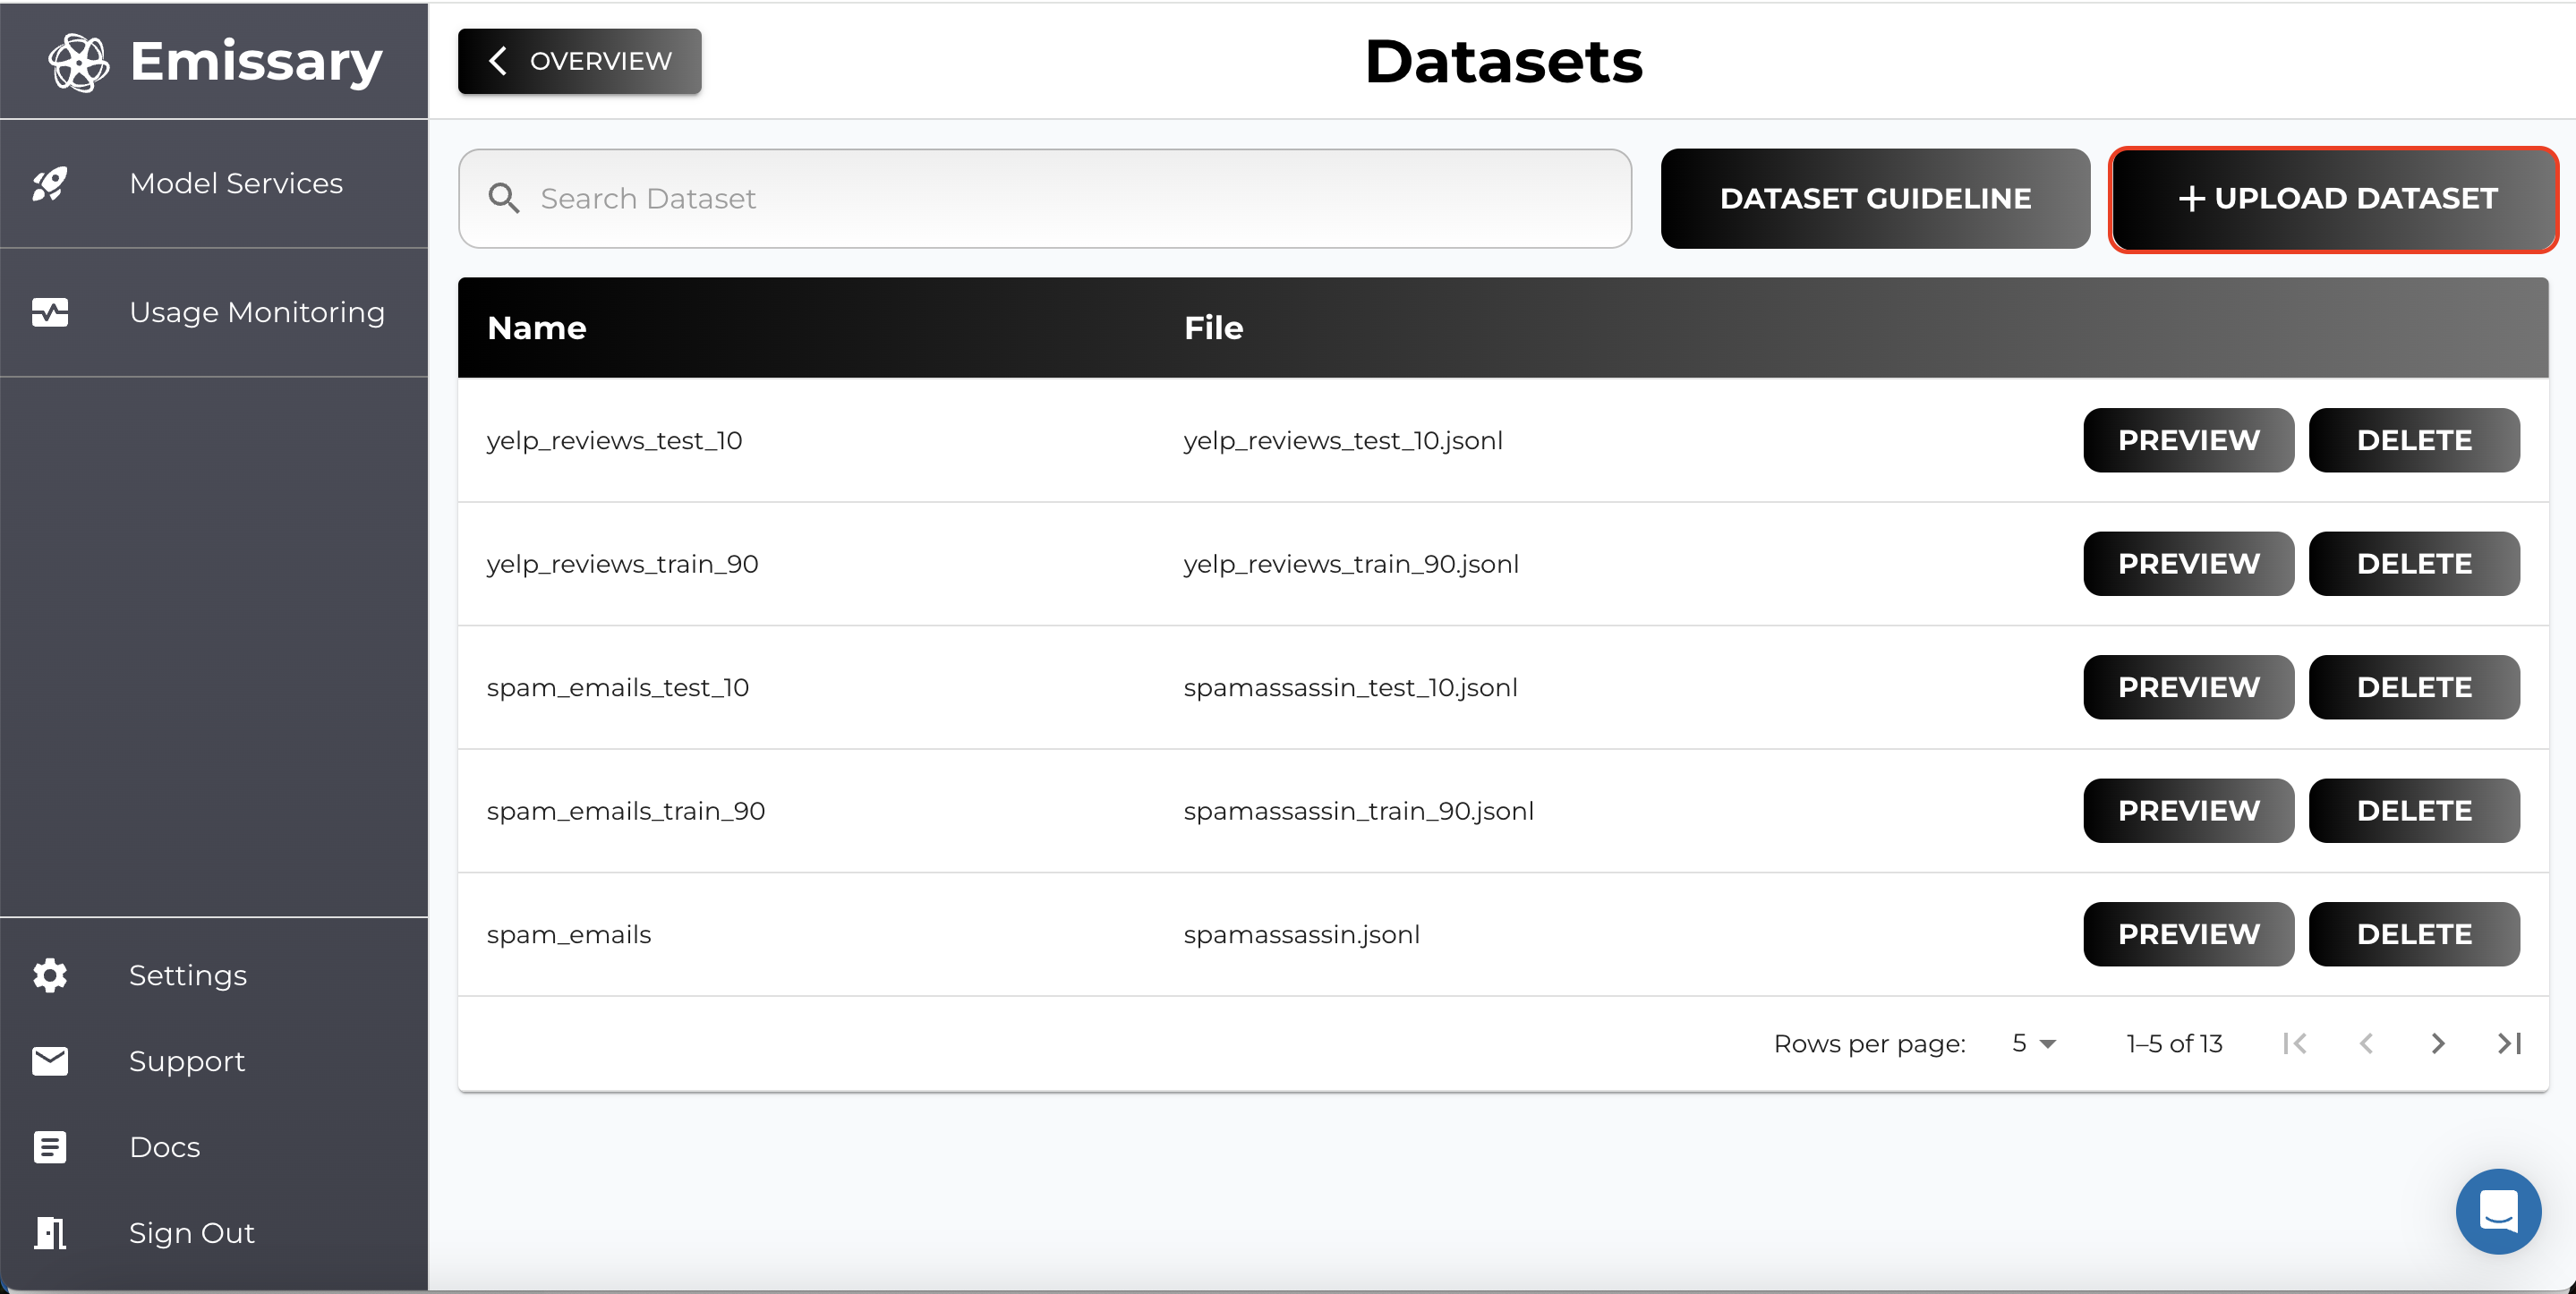
Click +UPLOAD DATASET. You can upload as many datasets as you want.
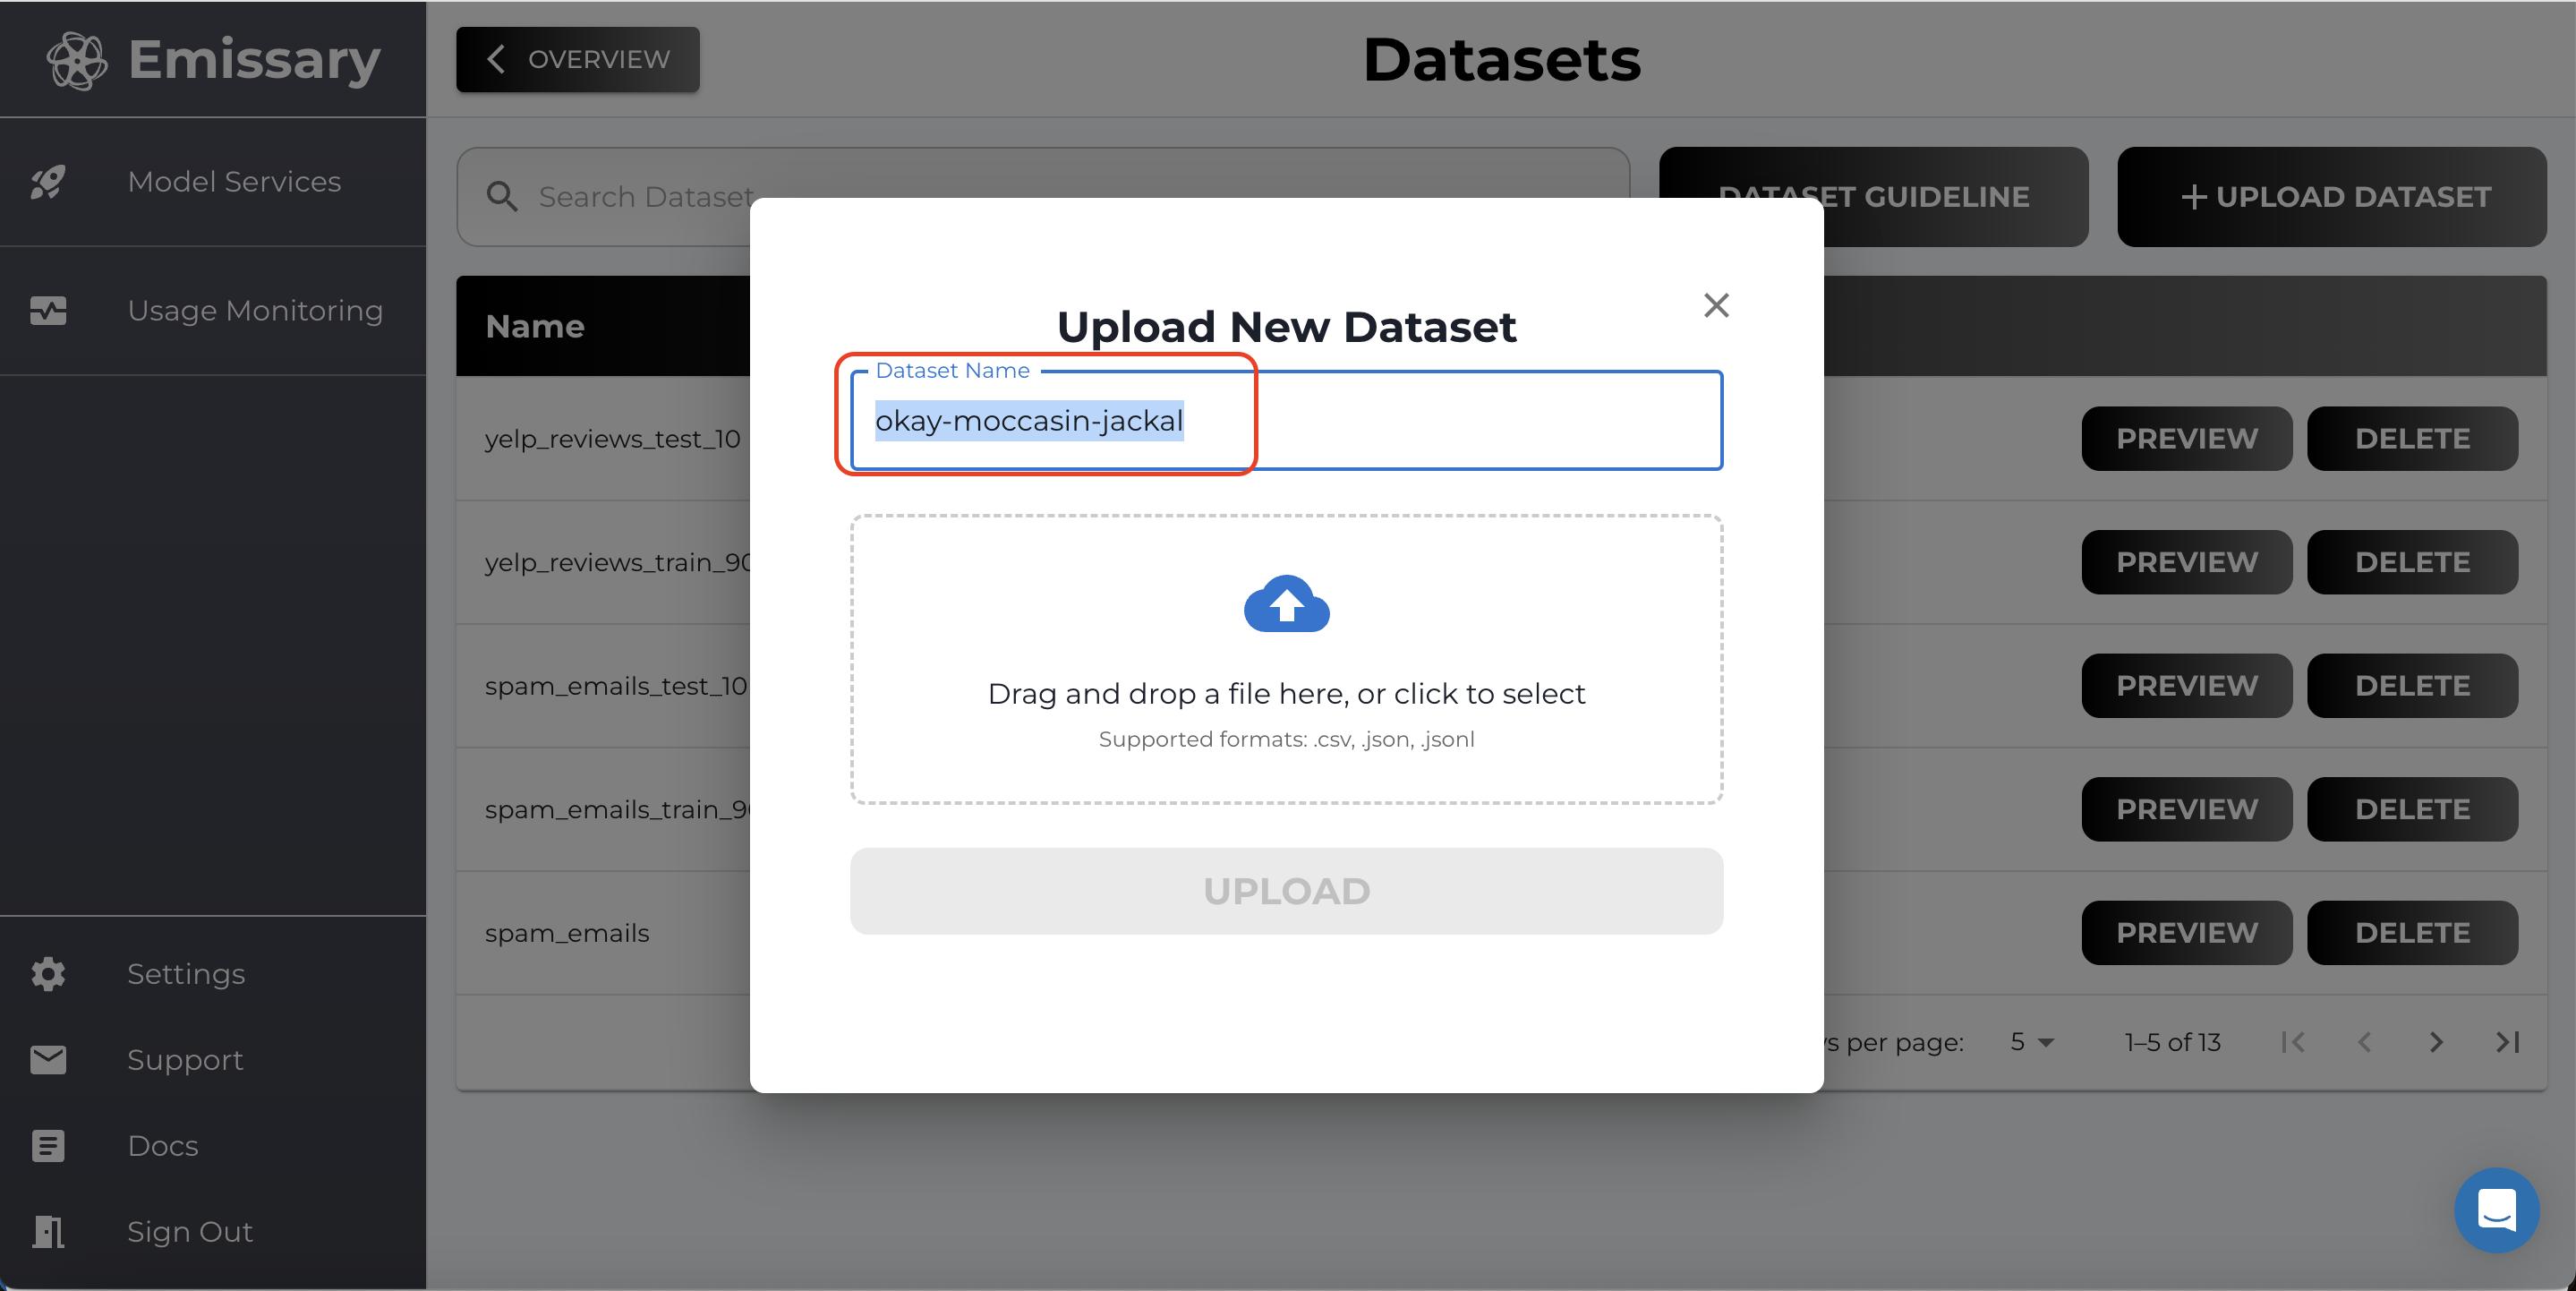
Remember to select a file and name each dataset. We recommend naming datasets to reflect what’s distinct about them.
6. Finetune Model
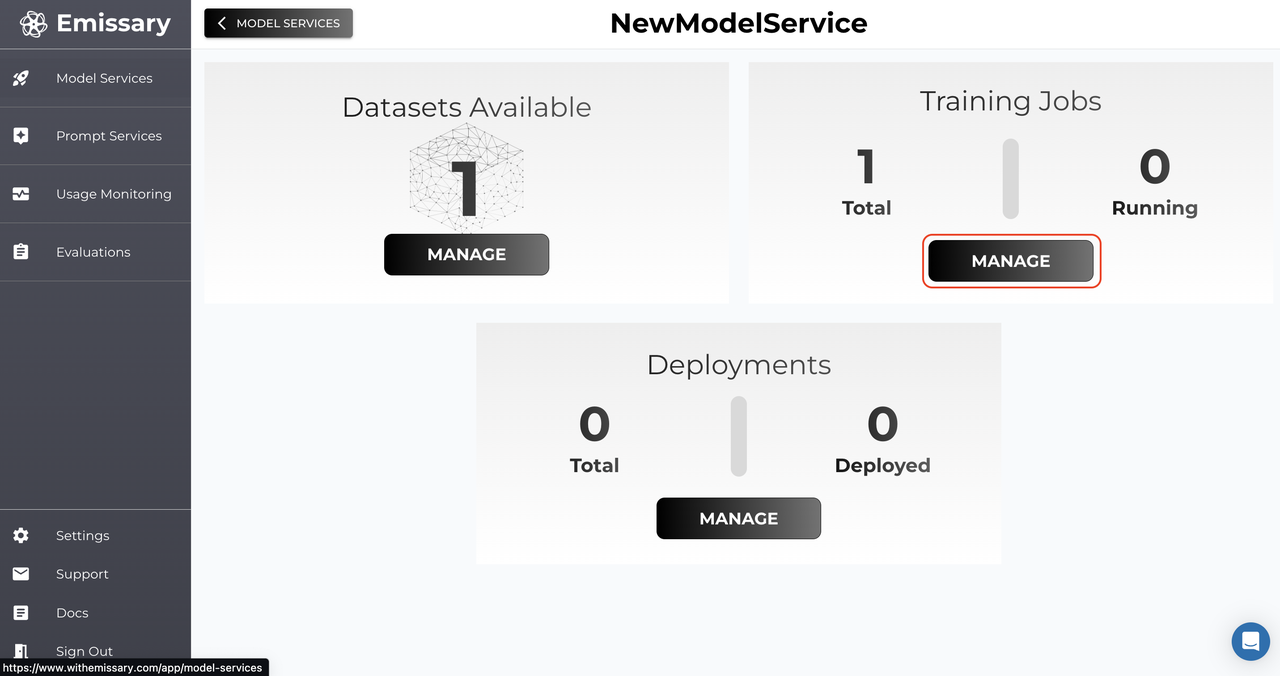
Now, go back one panel by clicking OVERVIEW and then click MANAGE in the Training Jobs tile.
Here, we’ll kick off finetunes. The shortest path to finetuning a model is by clicking +NEW TRAINING JOB, naming the output model, picking a backbone (base model), selecting the training dataset (you must have uploaded it in the step before), and finally hitting START NEW TRAINING JOB.
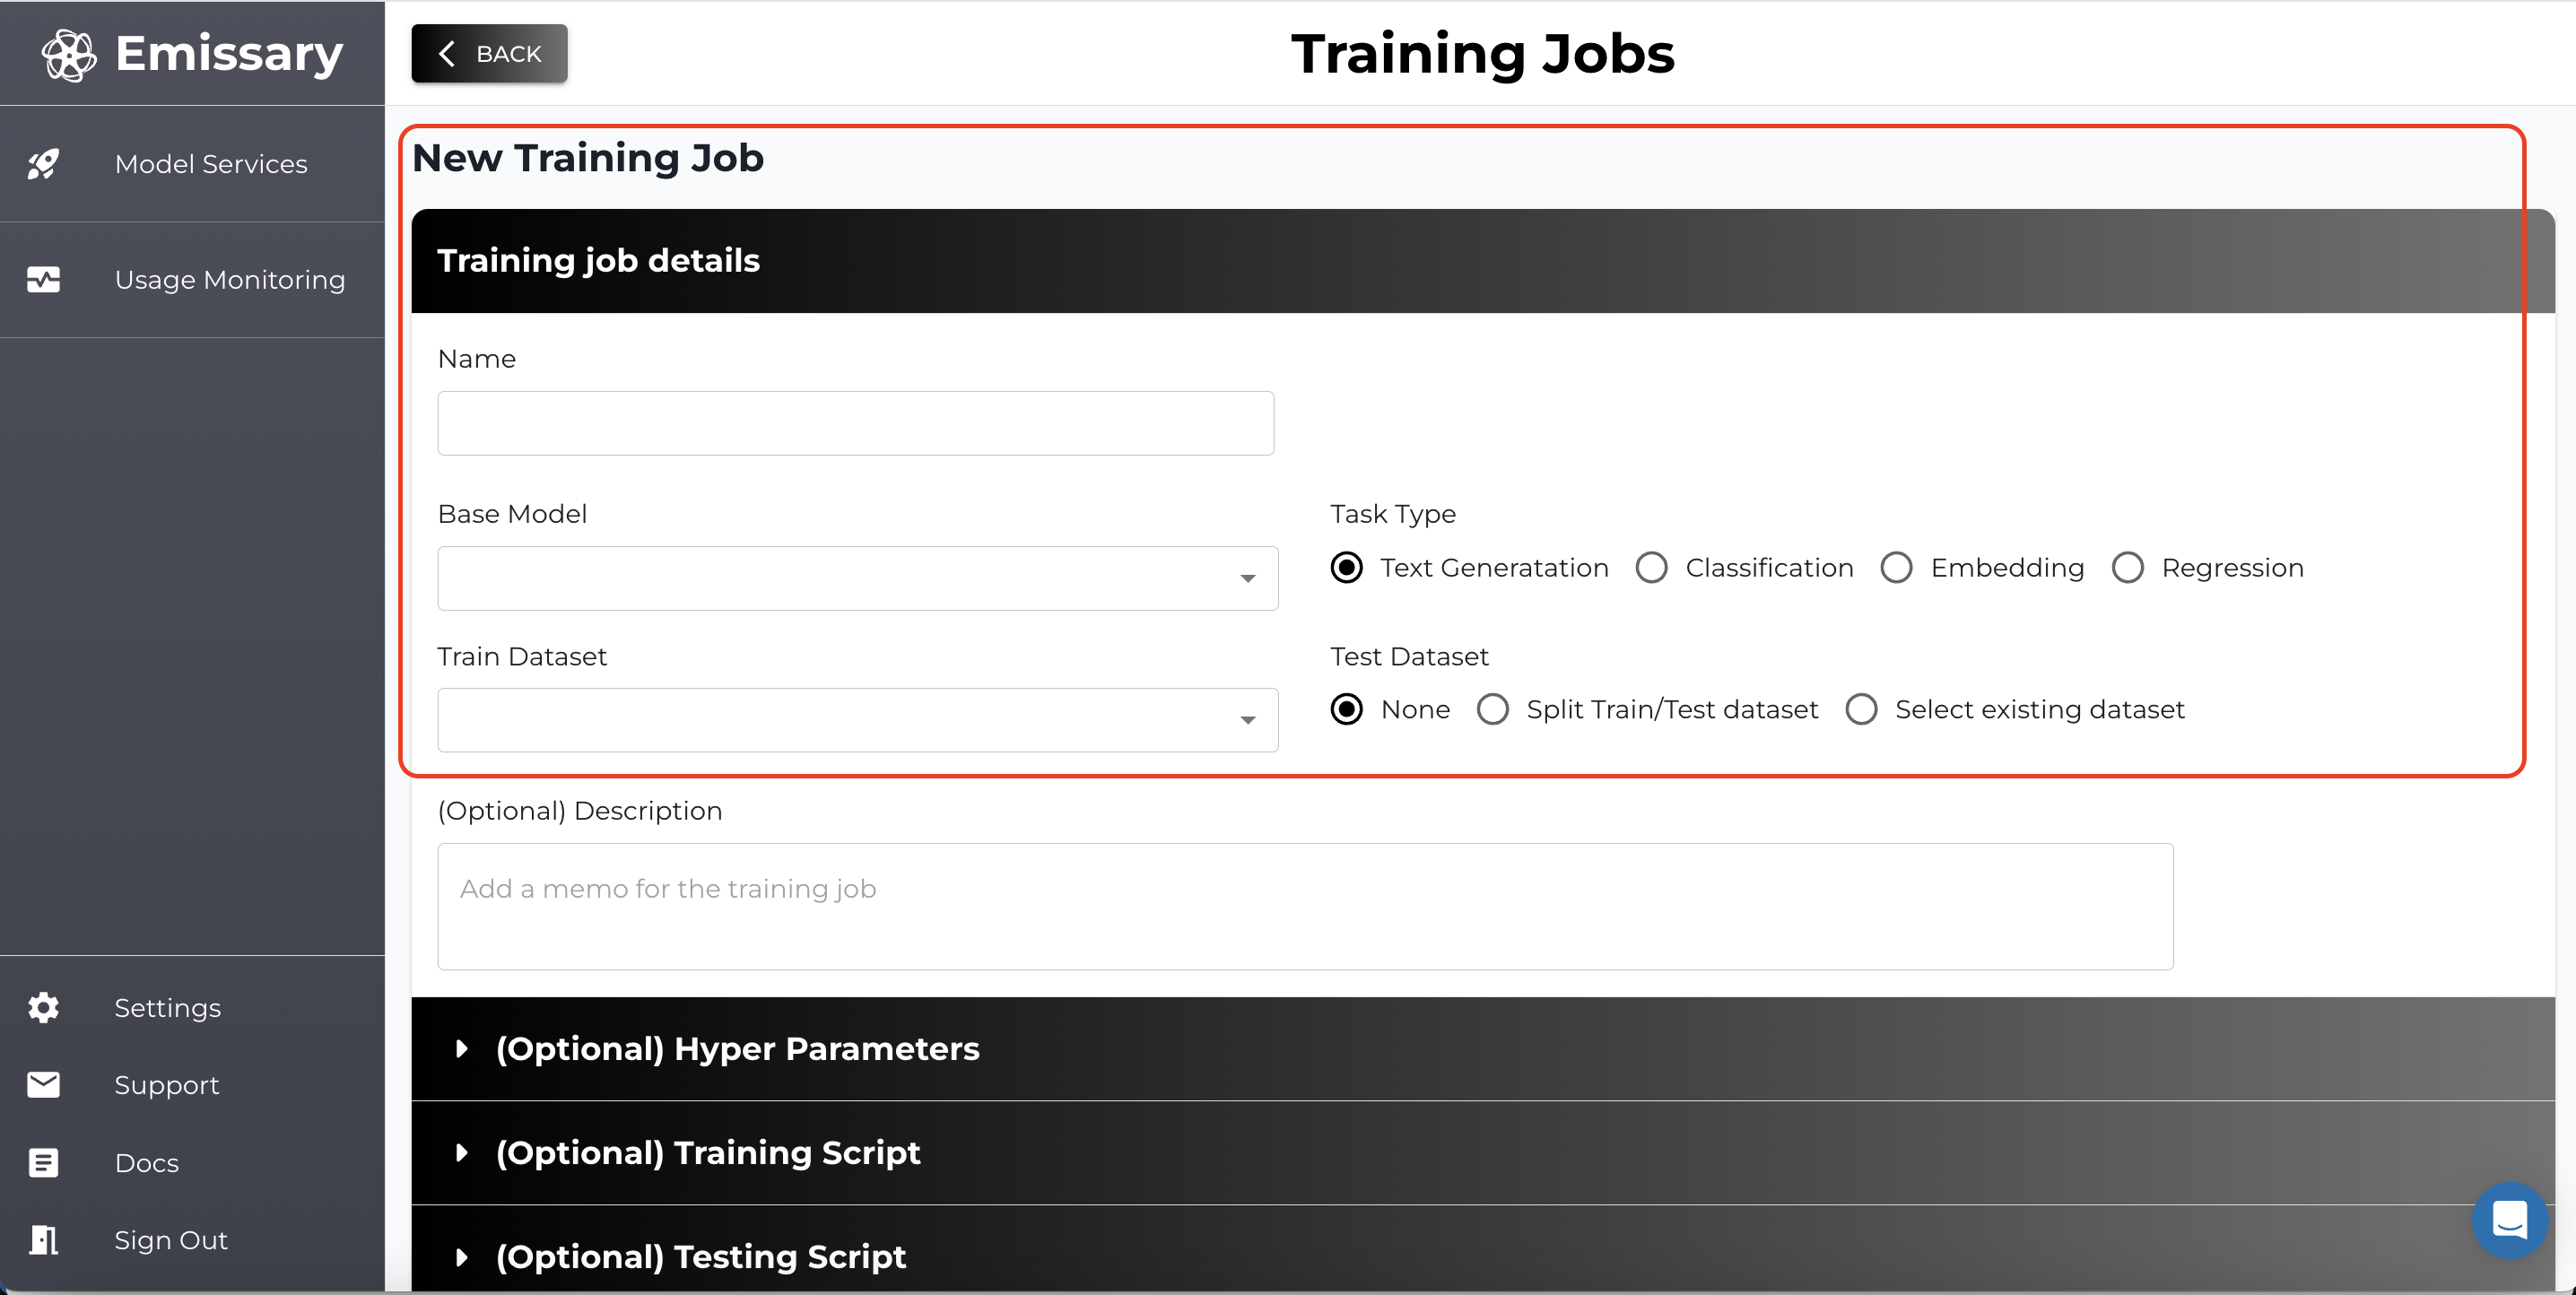
You can optionally upload a test data set too.
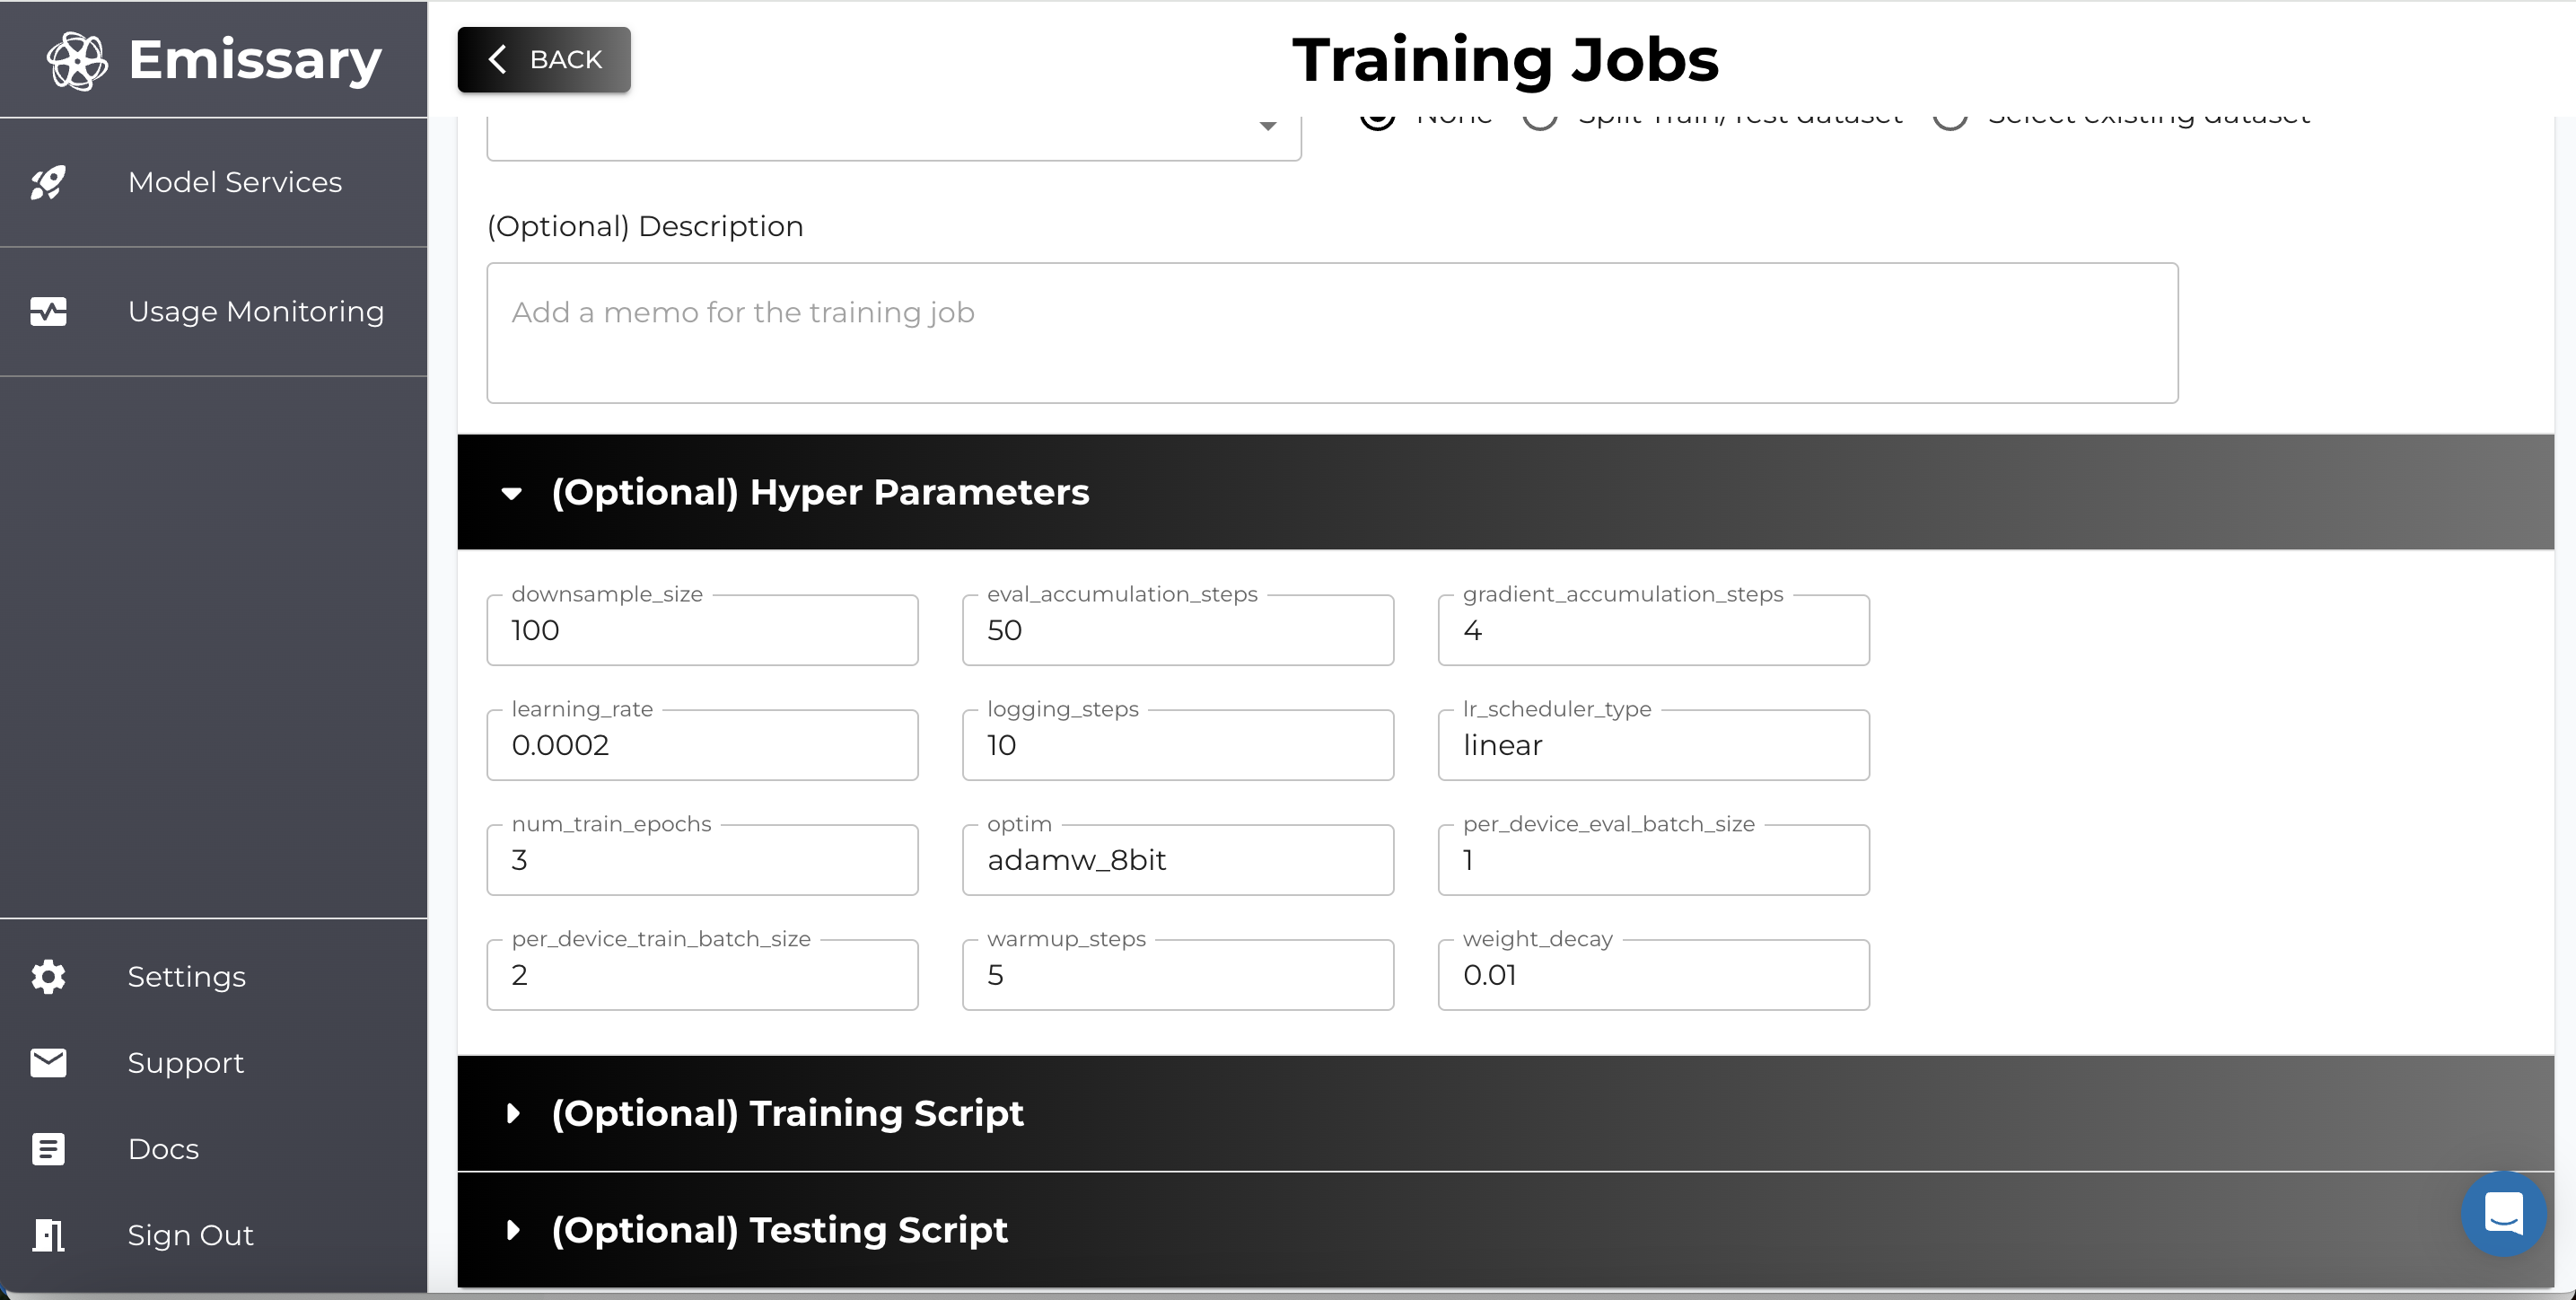
Once you select a model, you will also be able to see and modify advanced Hyper Parameters such as number of epochs, learning rate, batch size and downsample size.
Furthermore, you also have the option to control and customize your own Training Script and Testing Script.
To test on a random fraction of your data, simply change downsample size to the relevant percentage (10 —> training on 10% of data). By default, values are set to help you have the highest probability of successful outcome.
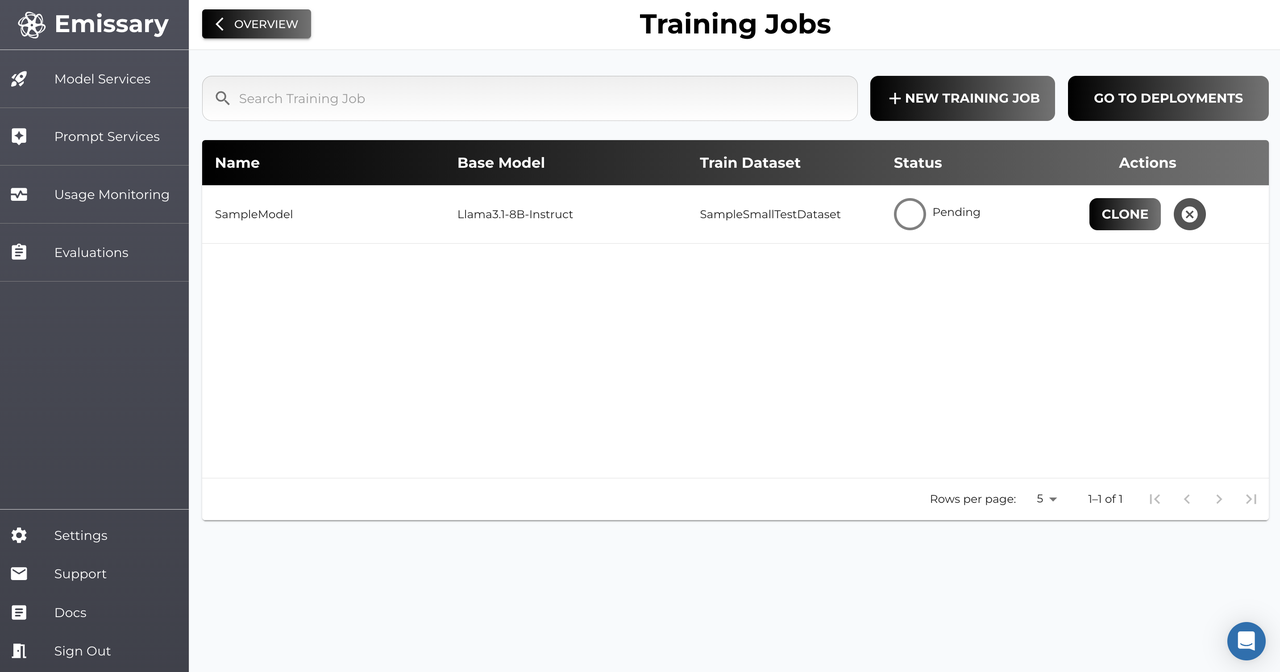
Note, your training job will initially show the status as "Pending" - at this point, we’re provisioning your instance.
Once your training job has been initiated, you’ll see Running appear as the status. Once complete, you’ll see Success, as shown below.


7. Deploy Model
Once your training job is successful, as seen above, you can see the output model's attributes - DETAILS and ARTIFACTS - on clicking.
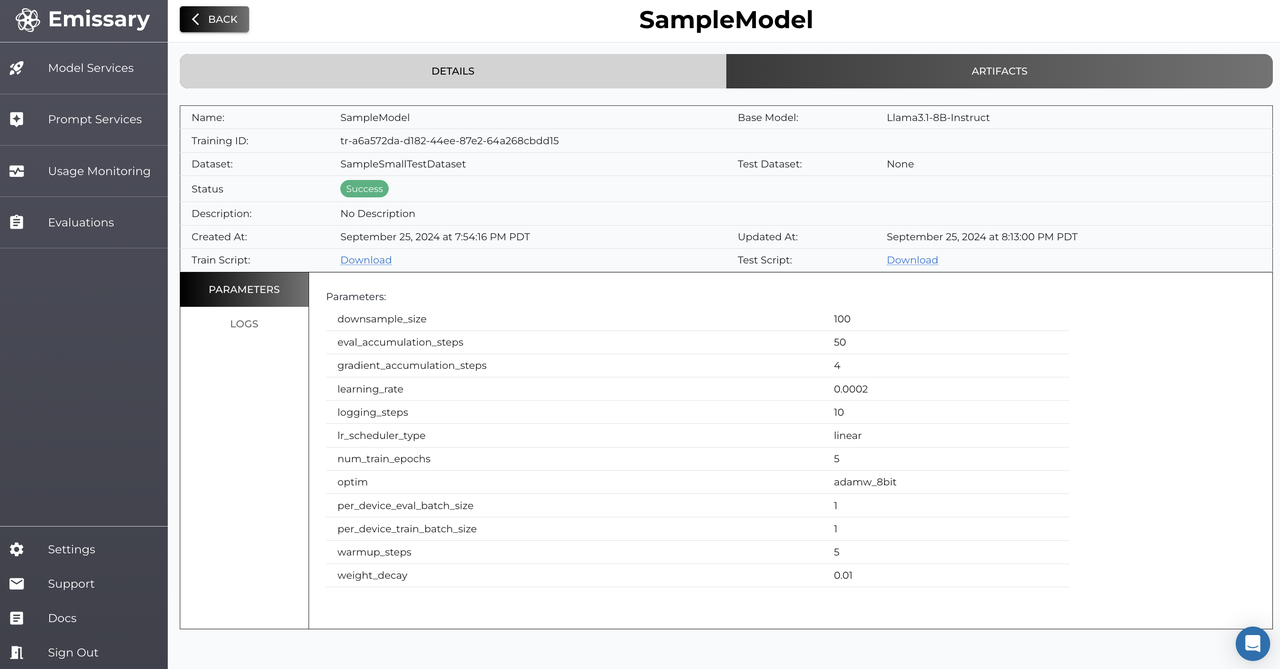
You can then deploy your models with one click, by hitting DEPLOY.
Furthermore, you also have the option to deploy your model based on various "Checkpoints", which directly correspond to your Epochs.
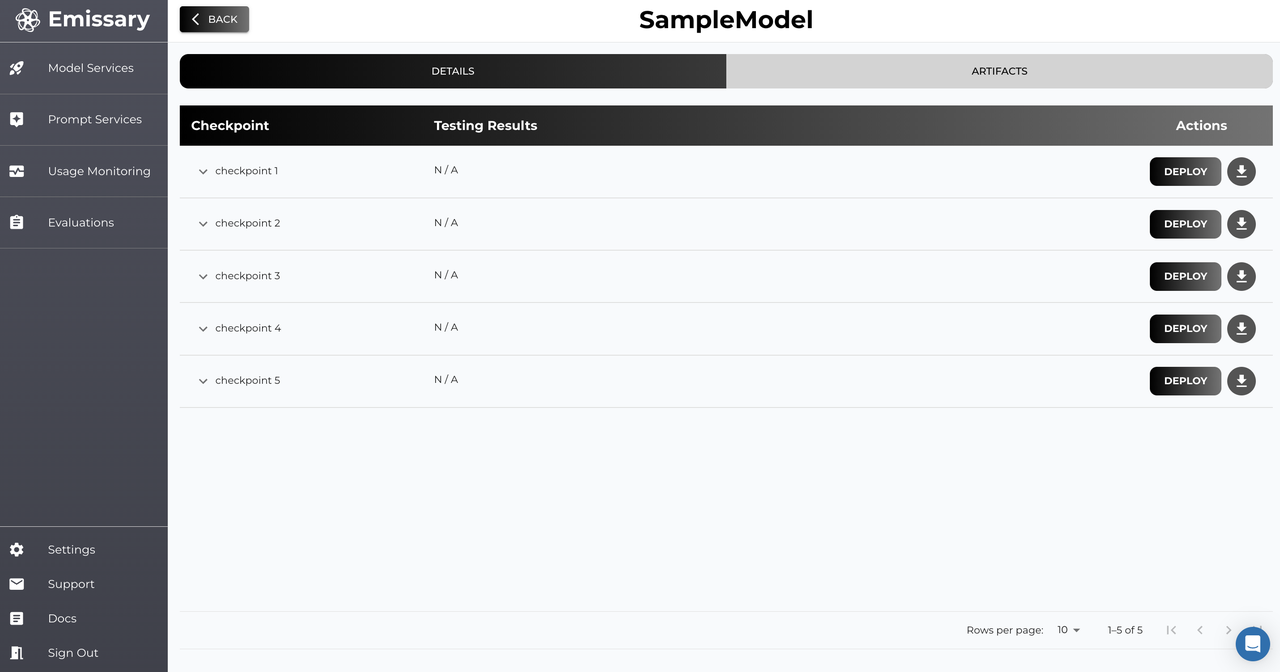
8. Deployment Testing and Monitoring
By clicking MANAGE in the Deployments tile, you can view, manage and test all your models - and also see the data flowing through them.
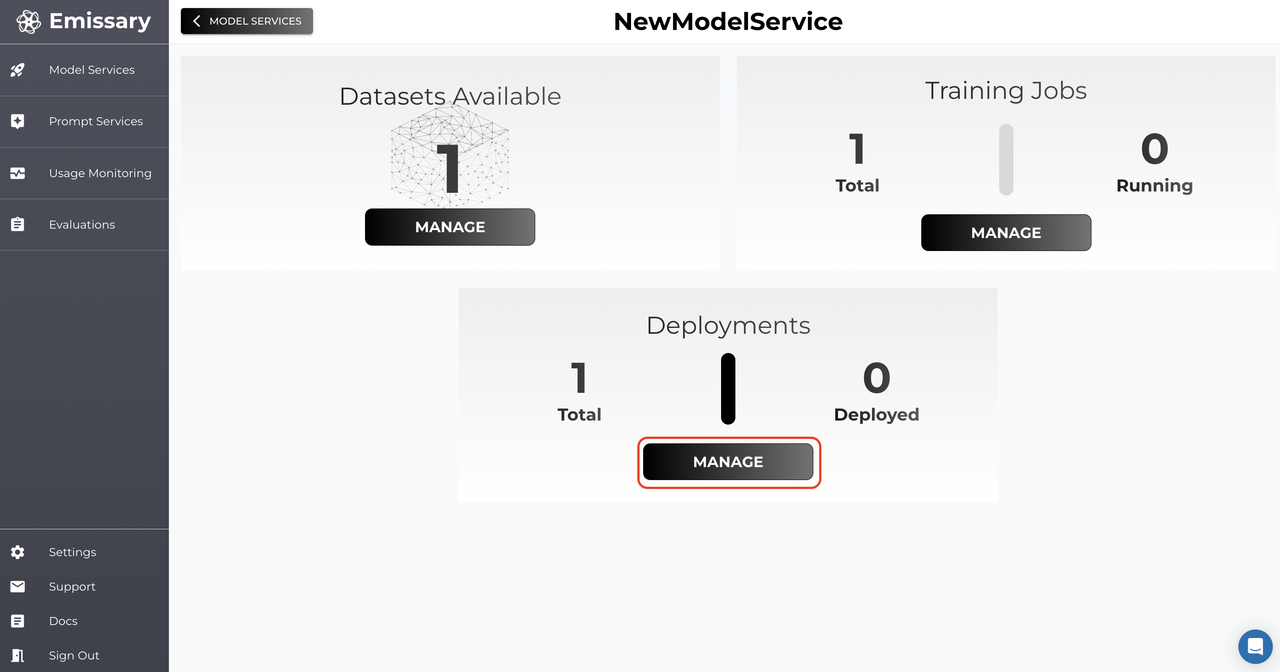
In the STATUS panel, you can hit the delete icon, as shown below, to close your deployment.

For successful deployments, you can use the TESTING panel to test outputs in real time.
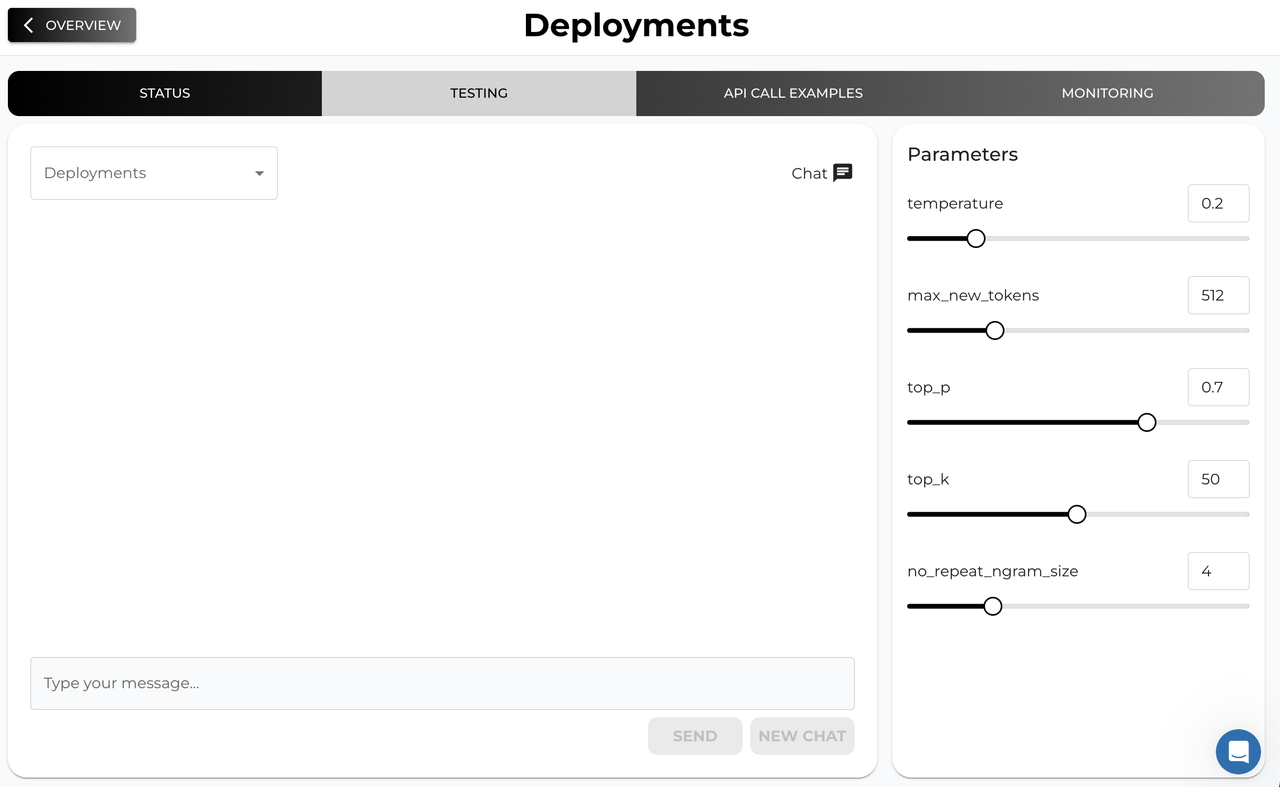
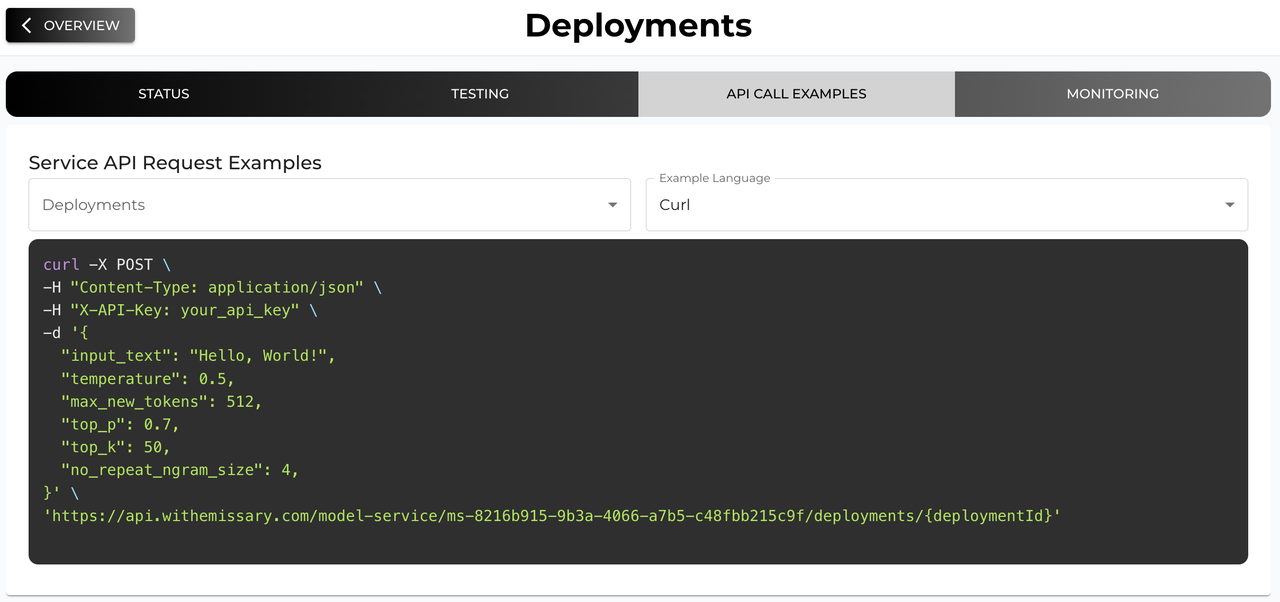
API CALL EXAMPLES contains code snippets to integrate deployments into your software.
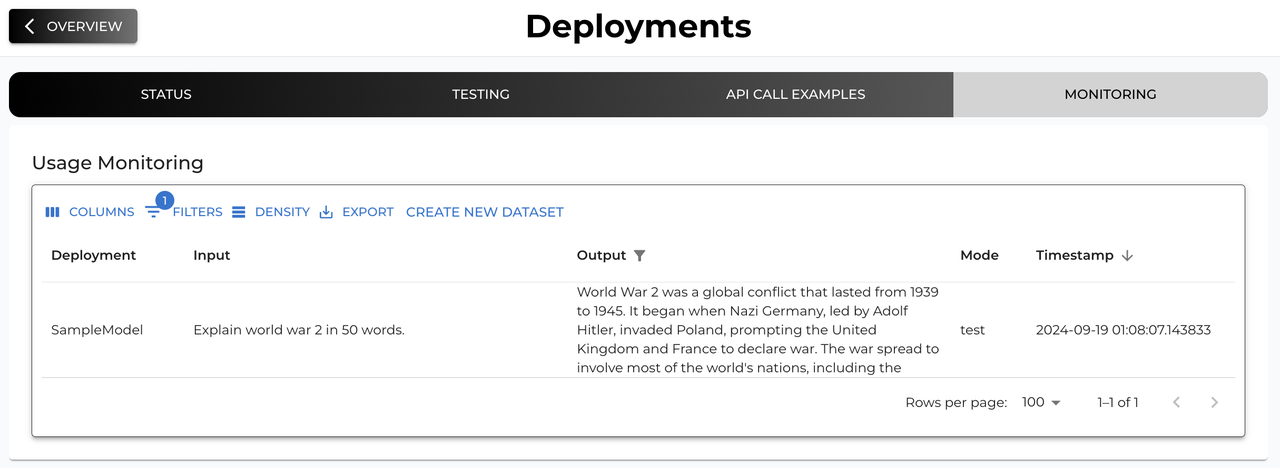
View all inputs and outputs flowing through your model in the MONITORING panel.
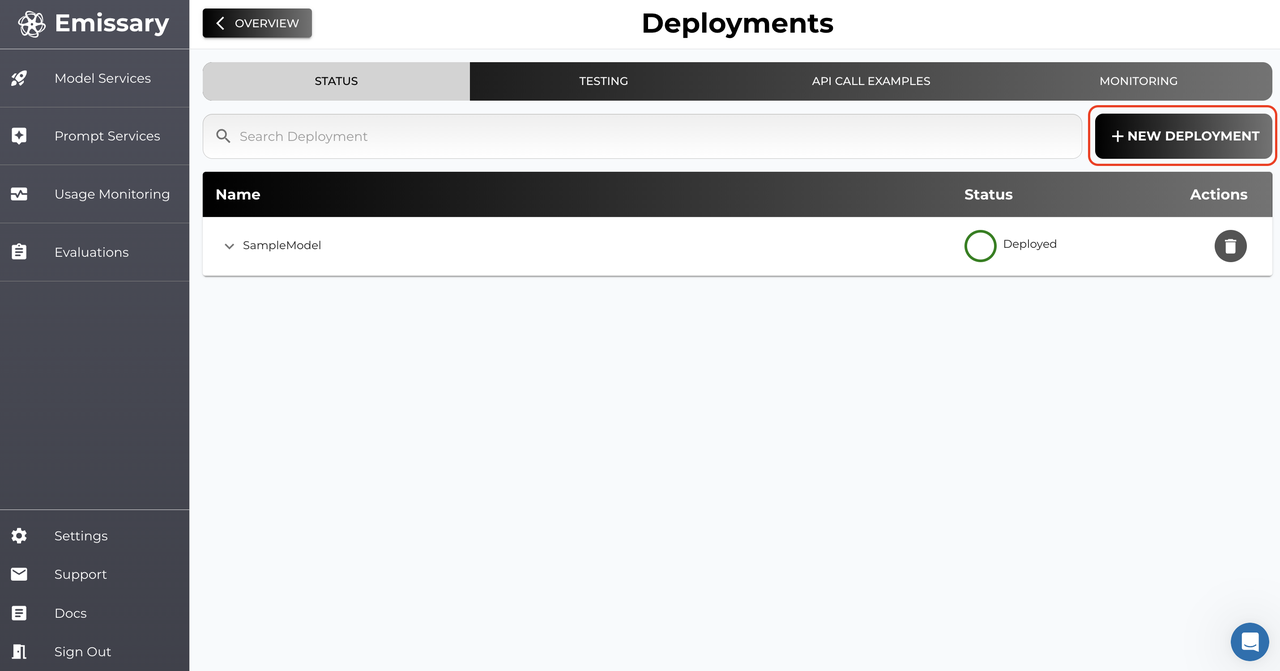
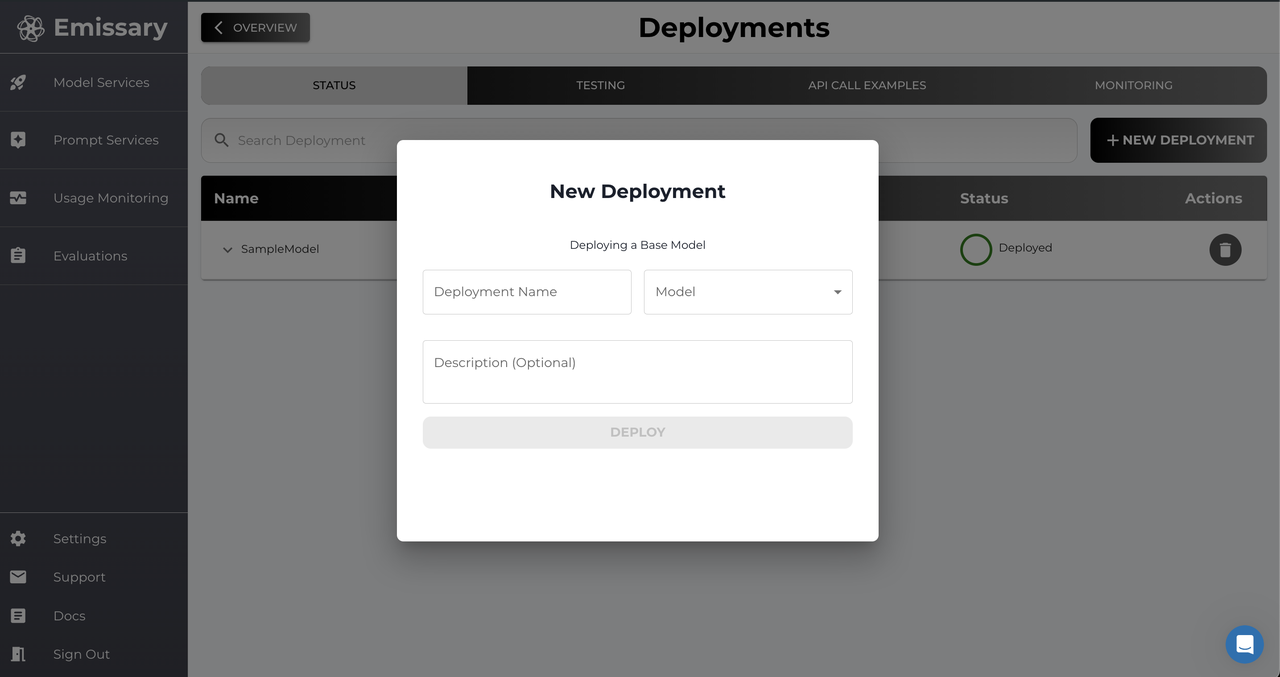
From this panel, you can also deploy base models (non-finetuned models) for any model service. Click on +NEW DEPLOYMENT and select the base model that you’d like to deploy.
